Your floodlights are glaringly bright and poorly aimed. This wastes energy and annoys neighbors. But you can easily adjust them for the perfect brightness and direction.
To control brightness, use dimmable fixtures with compatible dimmer switches. For direction, physically adjust the fixture’s yoke or knuckle mount. Loosen the locking screws, aim the light, and then tighten them securely to fix the position. This ensures precise, targeted illumination.
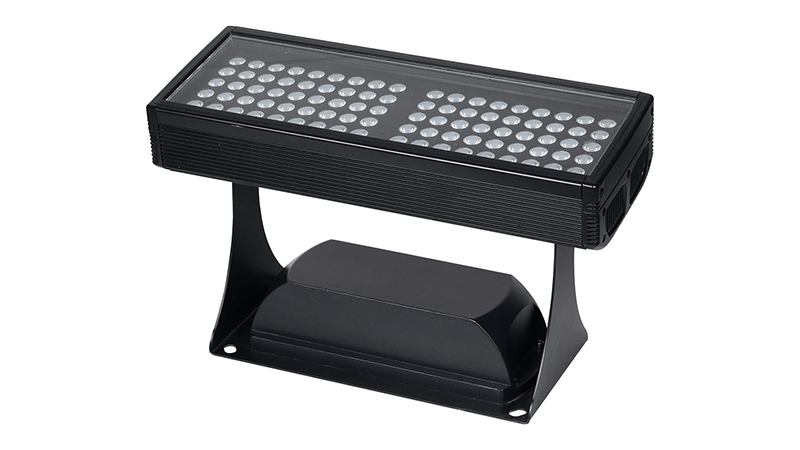
Getting the right lighting is about more than just turning a switch on. It is about creating the right mood, ensuring safety, and being efficient. Proper control is key. In my years of manufacturing LED lights, I have seen firsthand how crucial these adjustments are. Let’s break down exactly how you can manage your lighting like a pro. We will start with the most common question: controlling brightness.
How do you control the brightness of LED lights?
You need to adjust your lighting levels but feel stuck with a single brightness. This inflexibility can ruin the ambiance. Luckily, several simple methods let you control brightness easily.
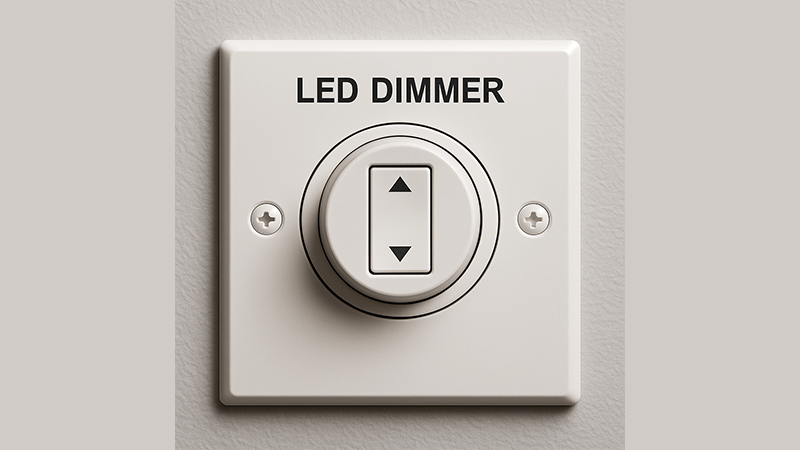
The most common way to control LED brightness is by using a compatible dimmer switch. For non-dimmable lights, you can use smart plugs for on/off control or replace the bulb with a lower-wattage version. More advanced options include 0-10V, DALI, or wireless control systems.
Choosing the Right Dimming Method
Controlling the brightness of your LED lights, or "dimming," depends entirely on the type of light and control system you have. Not all LEDs are dimmable, so always check the product specifications first. For dimmable LEDs, there are a few primary methods. Standard "leading-edge" or TRIAC dimmers are common for residential use. But for commercial projects, we often use more robust systems like 0-10V or DALI. 0-10V dimming uses a separate low-voltage signal to control brightness, which provides very smooth and reliable control, especially over long distances. Smart systems using Wi-Fi or DALI offer digital control, allowing for complex programming and integration with building management systems.
| Dimming Method |
Ease of Use |
Typical Cost |
Best Application |
| TRIAC Dimmer |
Easy (replaces standard switch) |
Low |
Residential, Small spaces |
| 0-10V Dimming |
Moderate (requires extra wiring) |
Medium |
Commercial, Large areas |
| Smart/DALI |
Advanced (requires programming) |
High |
Smart homes, large projects |
A Word of Warning: Mixing and Matching
Here is a crucial piece of advice from my experience in the factory. Never mix different brands, models, or even different production batches of LED lights on the same dimmer circuit. I once worked with a purchasing manager, Shaz, who sourced lights for a hotel project from two different suppliers to save costs. When they installed them, the dimming was a disaster. Some lights flickered at low levels, others stayed too bright, and they all responded differently. This is because small variations in the internal drivers and components cause inconsistent behavior. The only fix was to replace them all with a single, matched batch from one trusted manufacturer. It is a costly lesson that you can easily avoid.
How can you make bright LED lights less intense?
Your LED lights are way too bright, causing uncomfortable glare and eye strain. This harshness can ruin any room. But there are simple, effective ways to tone them down.
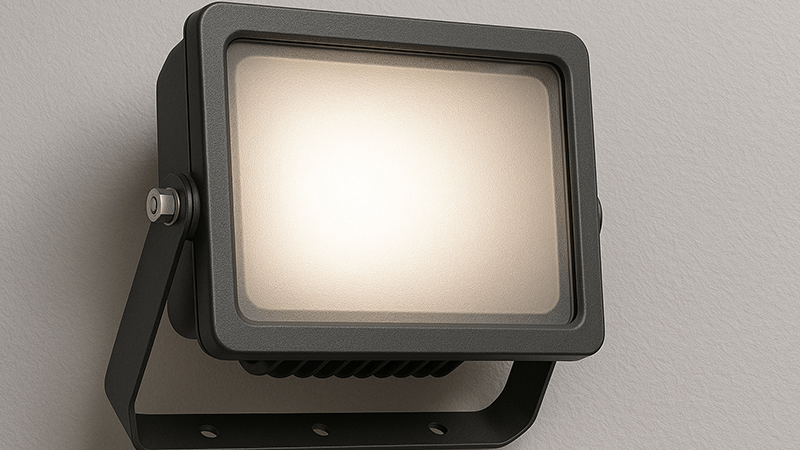
To dull down bright LEDs, you can install a dimmer switch if the lights are dimmable. If not, try applying a light-diffusing film over the lens, replacing the bulb with a lower-lumen or warmer color temperature version, or pointing the fixture towards a wall to create indirect light.
Non-Electrical Solutions for Reducing Glare
If your LED fixture is not dimmable, you still have excellent options to reduce its intensity. The easiest method is diffusion. You can apply a self-adhesive frosted or diffusing film directly onto the lens. In our manufacturing process at Upward Lighting, we carefully select polycarbonate (PC) diffuser materials that soften light and reduce glare without blocking too much of it. Another great technique is to use indirect lighting. Instead of pointing a bright floodlight directly at a seating area, aim it at a nearby wall or ceiling. The reflected light will be much softer and create a more pleasant atmosphere with fewer harsh shadows. You can also add physical barriers like shields or hoods to the fixture to block direct views of the light source, which helps control glare significantly. These simple physical adjustments can completely change the feel of a space without any complex electrical work.
Choosing the Right Bulb or Fixture
Sometimes the simplest solution is the best one. If an LED light is too bright, you can often just replace it with one that produces fewer lumens. Lumens measure brightness, while watts measure energy use. Pay attention to the lumen output on the packaging. Another powerful factor is color temperature, measured in Kelvin (K). A cool white light at 5000K can feel much "harsher" and more intense than a warm white light at 3000K, even if they have the same lumen rating. Just switching to a warmer color temperature can make a space feel more comfortable and the light less glaring.
| Common Wattage |
Typical Lumen Output |
Best Use Case |
| 5W |
~450 lm |
Accent lighting, small lamps |
| 10W |
~800 lm |
General room lighting |
| 15W |
~1400 lm |
Task lighting, kitchens |
| 50W Floodlight |
~5000 lm |
Outdoor security, large areas |
Choosing the right combination of lumens and color temperature from the start ensures your lighting is effective without being overwhelming.
How do you dim outdoor LED flood lights?
Your outdoor floodlights are perfect for security but too harsh for relaxing evenings. This all-or-nothing brightness limits your outdoor space. But you can set the perfect mood with dimmable floodlights.
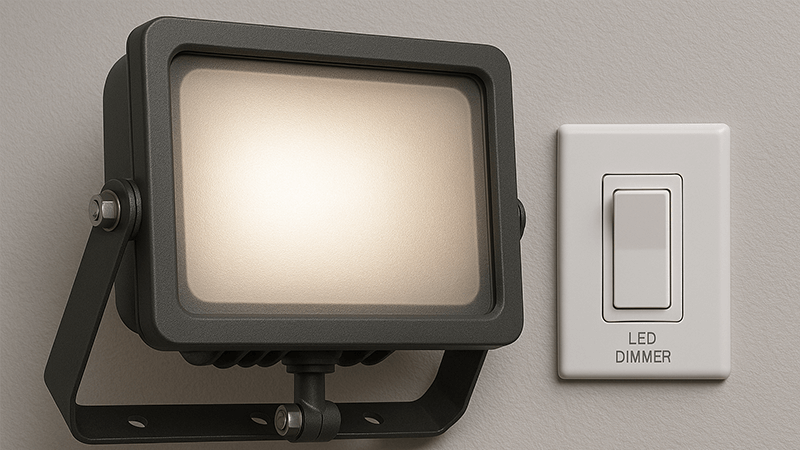
To dim LED floodlights, first ensure you have "dimmable" fixtures. Then, install a compatible outdoor-rated dimmer. Common professional systems include 0-10V or DALI, which provide smooth, flicker-free control and are ideal for large commercial projects. Always check the fixture’s specifications for compatibility.
Why 0-10V Dimming is the Professional’s Choice
When it comes to dimming outdoor floodlights for commercial projects, 0-10V dimming is the industry standard. It uses two dedicated, low-voltage wires to send a signal from the dimmer to the light’s driver. Because this signal is separate from the main power line, it is incredibly reliable and stable, even with long wiring runs from the building to the fixtures. This prevents the flickering and buzzing that can sometimes plague standard TRIAC dimmers, especially in large-scale installations. For a purchasing manager like Shaz in the UAE sourcing for a large resort or public space, specifying 0-10V dimmable floodlights is a non-negotiable requirement. It guarantees smooth, consistent performance across hundreds of lights, which is critical for a high-end project. And my earlier warning is even more important here: an entire façade lit with mismatched, flickering floodlights is a costly embarrassment. Always use a single, consistent batch from one supplier.
Critical Factor: Ingress Protection (IP) Rating
Dimming outdoor lights is not just about the electronics; it is also about durability. Every component, from the floodlight housing to the dimmer switch and junction boxes, must be designed to withstand the elements. This is where the Ingress Protection (IP) rating becomes vital. An IP rating is a two-digit number that tells you how well a device is protected against solids (like dust) and liquids (like water). The first digit is for solids, and the second is for liquids. For outdoor floodlights, you should look for a rating of at least IP65.
| IP Rating |
Protection Against Dust |
Protection Against Water |
| IP65 |
Dust Tight |
Protected against water jets |
| IP66 |
Dust Tight |
Protected against powerful water jets |
| IP67 |
Dust Tight |
Protected against temporary immersion |
As a manufacturer, we rigorously test our fixtures to ensure they meet their IP ratings. An IP65 floodlight is protected from dust and jets of water from any direction, making it perfect for most outdoor applications. For areas with frequent heavy rain or pressure washing, IP66 is even better. This ensures the internal components, including the sensitive dimming driver, remain safe and functional for years.
How do you adjust the sensitivity on motion-activated flood lights?
Your motion light triggers for every stray cat or passing car. This constant flashing is annoying and wastes power. But you can easily calibrate the sensor for reliable detection.
To adjust sensitivity on a floodlight, locate the control dials on the motion sensor, usually labeled "SENS" or "RANGE." Turn the dial towards "MIN" or "-" to decrease sensitivity (for fewer false triggers) or towards "MAX" or "+" to increase the detection range.
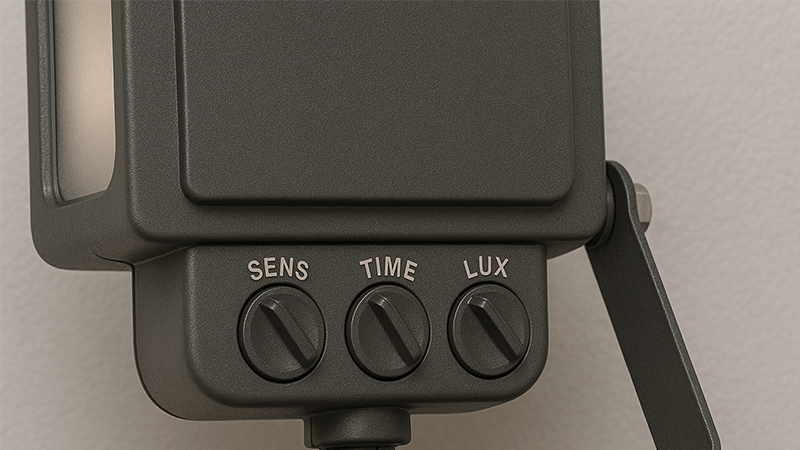
Understanding the Control Dials
Most motion sensor lights have three main adjustment dials that allow you to customize their performance. Getting these settings right is key to making the light both effective for security and not a nuisance. These dials are typically located on the bottom or back of the sensor module itself.
| Dial Label |
Function |
What It Does |
| SENS / RANGE |
Sensitivity or Range |
Controls how far the sensor detects motion. Higher settings cover a larger area. |
| TIME / DURATION |
Time Duration |
Sets how long the light stays on after motion is no longer detected (e.g., 1-10 minutes). |
| LUX / DUSK-DAWN |
Light Level |
Determines how dark it needs to be before the motion sensor will activate the light. |
From a manufacturing standpoint, the quality of the sensor matters immensely. We use high-quality Passive Infrared (PIR) sensors that detect body heat, which helps distinguish between people and things like wind-blown branches. Cheaper sensors can cause endless headaches with false triggers, so investing in a fixture with a quality sensor saves a lot of trouble later.
The Art of Testing and Fine-Tuning
Calibrating a motion sensor is a simple process of trial and error. First, look for a "Test" mode on the TIME dial. This mode makes the light turn on for just a few seconds when it detects motion, which lets you test the range quickly without waiting minutes between triggers. Set it to Test mode. Next, adjust the "SENS" dial. Start in the middle, then walk into the desired detection area. If it doesn’t trigger, increase the sensitivity. If it triggers from too far away (like the street), decrease it. Once you have the range dialed in, you can set the "TIME" dial to your desired duration, perhaps 3 to 5 minutes. Finally, adjust the "LUX" setting. To do this, wait until dusk, the time you want your light to start working. Slowly turn the LUX dial until the light just comes on. Now, the sensor will only activate when the ambient light is at that level or darker. This simple process will give you a reliable, effective security light.
Conclusion
Controlling your floodlights’ brightness and direction is simple. With the right dimmers, aiming techniques, and sensor adjustments, you can achieve perfect illumination for any situation.