Frustrated by intense, uncomfortable floodlight glare? It ruins visibility and causes discomfort. It’s a common problem with outdoor lighting that needs a smart solution for safety and comfort.
To reduce glare, choose LED floodlights with built-in shields, asymmetrical lenses, or deep-set LEDs. Also, ensure correct installation by aiming the light away from direct sightlines. Quality optics and proper placement are the keys to comfortable, effective illumination without the blinding effect.
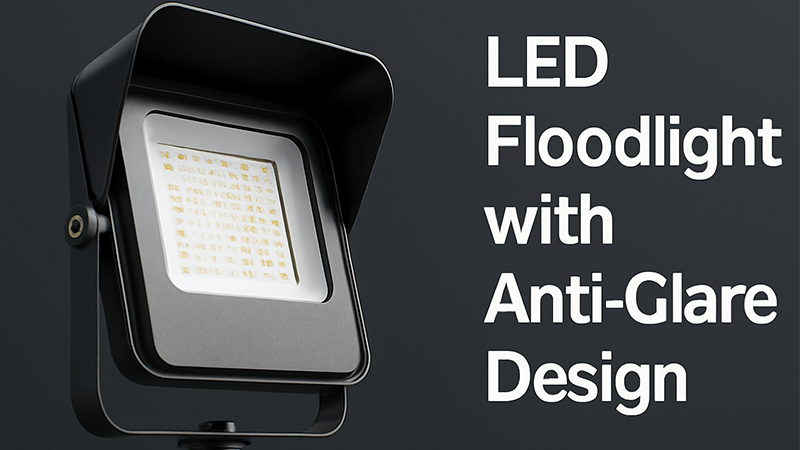
When I started in this industry, I saw many projects where the brightest light was considered the best. But I quickly learned that controlling light is more important than just producing it. A powerful floodlight is useless if it blinds everyone. For purchasing managers like Shaz, I know the real challenge is finding a product that performs well and lasts long. It’s not just about the anti-glare feature on a spec sheet. It’s about the total quality of the fixture. A light that promises low glare but fails in six months because of a cheap component is not a solution. Let’s look at how to solve the glare problem by focusing on both smart design and overall quality.
How to reduce LED light glare?
Your project site is bathed in blinding light. The floodlights are bright, but nobody can see comfortably. This glare is a safety hazard and a sign of poor lighting design.
The best way to reduce LED light glare is by using fixtures with superior optical control. This includes asymmetrical lenses that direct light forward, visors or shields that block stray light, and deeply recessed LED chips that hide the light source from direct view.
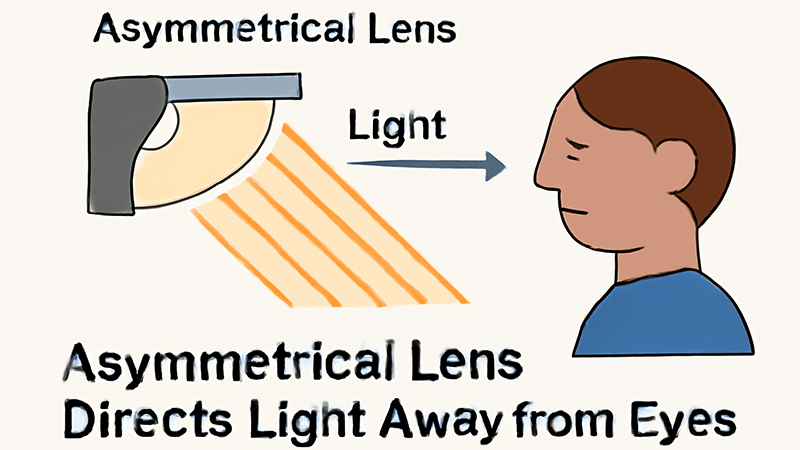
When we talk about reducing glare, we are talking about controlling the light. It’s not just about making a light less bright; it’s about putting the light exactly where you need it and keeping it out of people’s eyes. In my experience, the best way to do this is to focus on the design of the floodlight itself. It all starts with the optics.
A simple, flat glass cover on an LED floodlight does nothing to control glare. The light sprays out everywhere. A well-designed floodlight uses specific tools to shape the light beam.
Here are the three main design elements to look for:
1. Advanced Optical Lenses
Instead of a simple flat lens, look for floodlights with Total Internal Reflection (TIR) or asymmetrical lenses. A TIR lens captures and directs light with very high efficiency, creating a precise beam. An asymmetrical lens pushes the light forward and downward, which is perfect for illuminating a large area from the side, like a sports court or parking lot, without shining into players’ or drivers’ eyes.
2. Physical Shielding
This is a straightforward but very effective method. Shields, also called visors or hoods, are attached to the top and sometimes sides of the fixture. They physically block light from traveling upwards or sideways, preventing it from causing sky glow or spilling into areas where it’s not wanted. Louvers or baffles are grille-like attachments that break up the light source, making it much more comfortable to view.
3. Recessed Light Source
A simple design choice can make a huge difference. When the LED chips are set back deep inside the fixture housing, they are not visible from most viewing angles. This is called a deep-set or dark-light design. The housing itself acts as a natural shield, cutting off high-angle light that causes the most discomfort.
I’ve seen many clients choose a cheaper floodlight without these features, only to spend more money later trying to fix the glare problem. It is always more cost-effective to choose a fixture designed with glare control from the start.
| Glare Reduction Method |
How It Works |
Best For |
| Asymmetrical Lenses |
Directs light forward and down, away from sightlines. |
Sports fields, parking lots, perimeter lighting |
| Shields / Visors |
Physically block light from going in unwanted angles. |
Areas near residential buildings, roadways |
| Recessed LEDs |
Hides the light source deep within the fixture. |
Architectural lighting, walkways, public squares |
How to reduce glare in lighting design?
You’ve installed new lights, but the complaints are flooding in. The area is bright, but the glare is unbearable. Poor planning can make even the best fixtures ineffective and annoying.
To reduce glare in lighting design, focus on a smart layout. Use taller poles to mount lights higher, and aim them downwards. Avoid placing lights in the direct line of sight of people. Using multiple lower-wattage lights instead of a few high-power ones also helps.
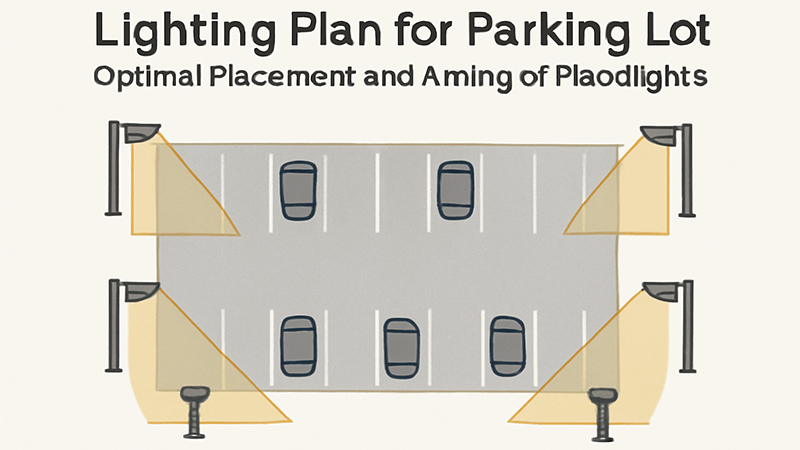
A great floodlight can still cause terrible glare if it’s installed improperly. I remember a project for a community sports park. The contractor bought our floodlights with excellent optics. But they installed them on short, 4-meter poles at the edge of the field, aimed almost horizontally. The glare was intense. Players couldn’t see the ball, and neighbors complained. The fixtures were not the problem; the lighting design was.
We helped them create a new plan. We moved the lights to taller, 8-meter poles and aimed them down at a steeper angle. The result was perfect. The field was evenly lit, and the glare was gone.
This story shows that the fixture is only half the battle. As a purchasing manager, Shaz, you need to ensure the products you source are being used correctly. Here are some key principles of anti-glare lighting design:
The Importance of Placement and Aiming
This is the most critical part of any outdoor lighting layout.
- Mounting Height: The higher you mount a light, the more you can aim it straight down. This keeps the beam focused on the target area and out of people’s eyes. Using shorter poles often forces you to aim the light at a lower, more glaring angle to cover the same area.
- Aiming Angle: Always aim floodlights carefully to minimize spill. The primary goal is to light the ground or the target, not the sky or your neighbor’s window. A good rule of thumb is to keep the main intensity of the beam below 70 degrees.
- Location: Think about the typical viewing positions of people. For a walkway, place poles to the side, not at the end of a long, straight path where the light shines directly into someone’s face.
More Lights, Less Power
Instead of using one or two extremely powerful floodlights to illuminate a large space, it’s often better to use a greater number of lower-wattage fixtures. This approach, called "distributed lighting," creates a more uniform light level. It eliminates the harsh, bright spots and deep shadows that come from a single powerful source. This uniformity is not only more comfortable for the eyes but also improves safety and security. It means fewer "hotspots" of intense glare.
Which lighting option is best for reducing glare and eye strain?
You’re looking for lights that won’t cause headaches. With so many options, it’s hard to know which product truly delivers comfortable, low-glare illumination for a productive and safe environment.
The best lighting options for reducing glare and eye strain are those with a low Unified Glare Rating (UGR), indirect lighting fixtures, or dimmable systems. These solutions control brightness and light distribution, creating a more visually comfortable and less strenuous environment.
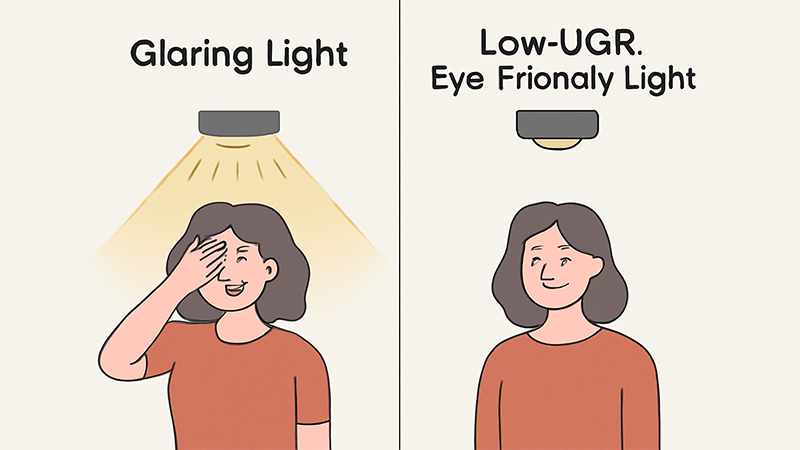
For a purchasing manager, selecting the "best" option means balancing performance, cost, and long-term reliability. Eye strain isn’t just about glare; it’s also about flicker, color consistency, and overall light quality. This is where the cheap, low-end products really fail. They might have a shield slapped on to "reduce glare," but the poor-quality components inside create other problems.
I once consulted for a client who had purchased low-cost floodlights for their warehouse exterior. The lights had deep-set LEDs and looked good on paper. But after just a few months, workers started to complain of headaches. We discovered the problem was the driver. The cheap drivers were not providing stable current, causing the LEDs to flicker at a frequency that was almost invisible but was causing significant eye strain.
This is why you must look beyond the basic anti-glare features. Here’s what I tell my partners to look for to ensure true visual comfort and long-term value:
Beyond Optics: Why Overall Quality Prevents Eye Strain
A fixture is a complete system. If one part is bad, the whole system suffers.
- High-Quality Drivers: A good driver delivers stable, flicker-free power. This is non-negotiable for comfortable lighting. Drivers from reputable brands also enable smooth dimming, which is another great tool for reducing eye strain. A substandard driver is a common failure point that leads to flickering and premature light decay.
- Superior LED Chips: Not all LED chips are created equal. We insist on using chips from top-tier manufacturers. These chips provide consistent color and brightness, and they hold that quality for tens of thousands of hours. Low-end products often use inferior, small, or rejected chips. These can have inconsistent color, flicker, and lose brightness quickly, all of which contribute to eye strain.
- Excellent Thermal Management: This is my favorite topic. An LED chip that runs too hot will lose brightness and its color can shift. This instability is bad for the eyes. Cheap floodlights use thin, flimsy aluminum heat sinks that can’t dissipate heat effectively. Our designs use heavy-duty, die-cast aluminum with a large surface area to keep the LEDs cool and stable.
| Feature |
High-Quality Fixture (Low Eye Strain) |
Low-Quality Fixture (High Eye Strain) |
| Driver |
Stable, flicker-free output, smooth dimming |
Unstable current, causes flicker, fails early |
| LED Chip |
Consistent color & brightness, long life |
Inconsistent color, rapid light decay, undersized |
| Heat Sink |
Thick, die-cast aluminum, large surface area |
Thin, stamped aluminum, inadequate cooling |
| Optics |
Precision lens or reflector, low UGR |
Simple glass cover, high glare, no control |
Ultimately, the best lighting option is one that is well-engineered from top to bottom. It will control glare through its optical design and prevent eye strain through its high-quality electronic and thermal components.
How to make flood lights less bright?
The floodlights are working, but they are just too intense. You’re creating light pollution and annoying the neighbors. You need to tone it down without replacing the entire system.
To make floodlights less bright, use dimmable fixtures controlled by a 0-10V or DALI system. You can also add external diffusers or frosted films to soften the light, or simply choose a lower-wattage fixture that provides the right amount of light from the start.
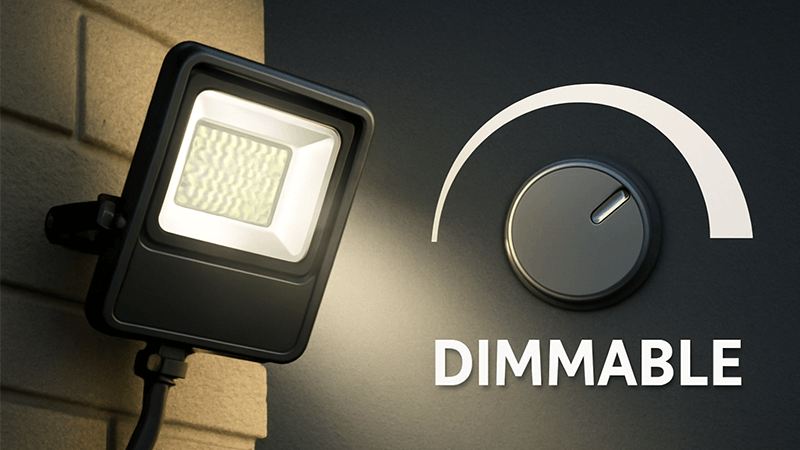
Sometimes the problem isn’t glare, it’s just too much light. This is a common issue, especially when old, inefficient Metal Halide or High-Pressure Sodium lights are replaced with LEDs. A 1000W metal halide can often be replaced by a 300W or 400W LED, but some people buy a 1000W LED and are shocked by the intensity. Over-lighting is wasteful and creates problems.
As a purchaser, Shaz, providing flexible solutions is a huge value-add. This is why I am a big advocate for dimming.
The Power of Dimmability
A dimmable floodlight is the most flexible solution. It allows you to fine-tune the brightness to the perfect level for any situation.
- 0-10V Dimming: This is a simple and reliable analog dimming standard. It’s cost-effective and widely used in commercial outdoor lighting.
- DALI Dimming: This is a digital protocol that offers more advanced control. With DALI, you can control individual lights or groups of lights, set scenes, and get feedback from the fixtures. It is perfect for large, complex projects.
To use dimming, you need a fixture with a dimmable driver. This is another area where low-quality lights cut corners. They use cheaper, non-dimmable drivers. Insisting on a quality, dimmable driver gives you the power to adjust a light that is "too bright" with a simple controller, saving the cost of replacement.
Other Methods to Reduce Brightness
If your fixtures are not dimmable, there are still a few options:
- Diffusers and Films: A frosted or prismatic lens cover can be added to spread the light out, reducing its perceived intensity. This is a good retrofit solution, but it also reduces the total light output and beam control.
- Correct Sizing: The best method is to choose the right light from the beginning. A good lighting manufacturer, like us, can provide a lighting simulation (using DIALux, for example). This simulation shows you exactly how bright an area will be with a certain fixture. This eliminates guesswork and ensures you don’t over-light the space.
Finally, remember the point about fake IP ratings. A light that seems too bright today might not be bright at all tomorrow. I’ve tested competitor products with high IP66 ratings that failed after a single rainstorm. Water gets inside, shorts the driver, and the light dies. A dead floodlight is "less bright," but it’s also a complete waste of money. True quality means the light performs correctly and reliably for its entire lifespan.
Conclusion
Reducing glare is about smart design and total quality. Choose lights with good optics, install them correctly, and never compromise on the quality of core components like drivers and chips.