Calculating downlights feels complex and risky. A miscalculation can ruin a project with dark spots or harsh glare. I’ll show you a better way to plan your lighting perfectly.
The best way to determine the number of downlights is to stop counting and start planning the "scene." Instead of a formula, consider the room’s function, desired mood, and light layering. This approach ensures you create a functional and beautiful environment, not just a brightly lit box.

Before you reach for a calculator, let’s talk about what really matters. For years, I’ve seen projects stumble because they focus on "how many" lights instead of "how the space feels." This is a common but costly mistake. The right approach isn’t just about formulas; it’s about creating an experience. It saves money, avoids rework, and results in spaces people love. I want to share the method I’ve used with my top partners to achieve incredible results. Let’s think like lighting designers, not just accountants.
How do you calculate the number of LED lights required?
You’re trying to use standard formulas to get a precise number. But these calculations often ignore the real-world use and feel of the space. I’ll give you a practical method.
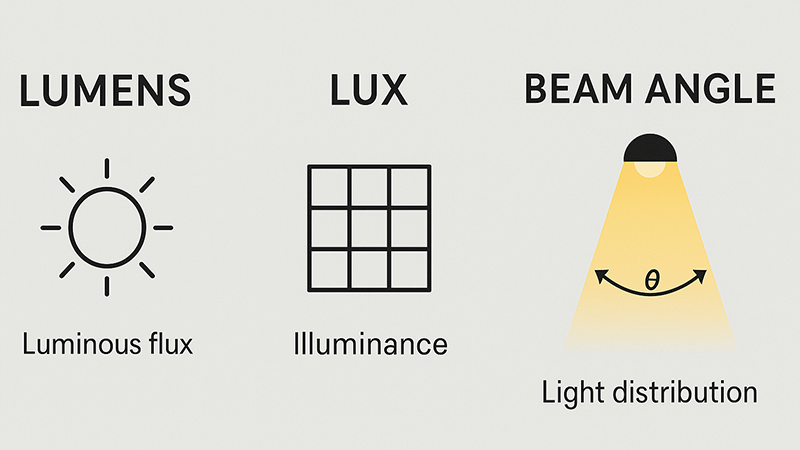
First, define the room’s function and desired lux level. Then, use the light’s lumen output and beam angle as a guide. Most importantly, plan for layers of light—ambient, task, and accent—instead of just one calculation for general lighting. This creates a truly professional result.

Many people in our industry rely on a standard formula: Number of Lights = (Target Lux * Area) / (Lumens per Light * Utilization Factor). I learned early in my career that while this formula is a good starting point, it’s not the final answer. It treats a ceiling like a simple grid to be filled, which is the fastest way to create a flat, boring environment. After seeing this mistake repeatedly, I started advising my clients to think differently.
From Calculation to Scene Planning
As a purchasing manager, you provide solutions, not just products. Your value increases when you can guide your clients toward a better outcome. Instead of just delivering 50 downlights, you’re delivering a perfectly illuminated retail space. The key is to plan the lighting in layers.
- Ambient Layer: This is your base level of light. It provides general, comfortable brightness. This is where the old formula is most useful, but it’s only one part of the plan.
- Task Layer: This is targeted light for specific activities. Think of downlights focused over a kitchen counter, a reading chair, or a workspace. This lighting is critical for functionality.
- Accent Layer: This layer creates visual interest. It highlights architectural features, artwork, or retail displays. This is what makes a space feel designed and high-end.
Here’s a comparison of the two approaches for a simple office space:
| Aspect |
Calculation-First Approach |
Scene-Planning Approach |
| Focus |
Uniform lux level across the entire area. |
Creating functional zones and visual appeal. |
| Process |
Calculate total lumens needed, divide by fixture output. |
Identify task areas, then add ambient and accent light. |
| Result |
A flat, evenly lit room. Often feels sterile. |
A dynamic, comfortable, and functional workspace. |
| Flexibility |
Poor. The lighting is either on or off. |
High. Different layers can be used for different needs. |
By planning the scene first, the number of lights you need becomes an outcome of good design, not the starting point.
How many downlights do you need per square metre?
You need a quick rule of thumb for project estimates. But a single number can be misleading and lead to poor lighting design for your clients. I’ll give you a more reliable guide.
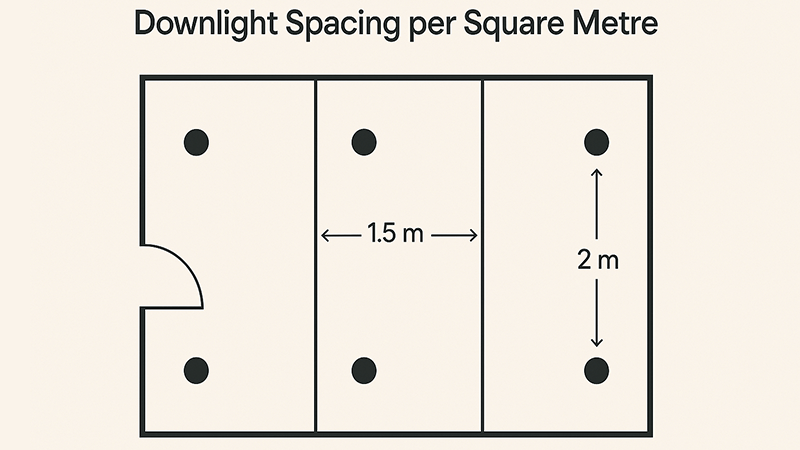
There is no single "downlights per square metre" rule. For general guidance, use one downlight per 1.5 to 2.5 square metres. However, this depends heavily on ceiling height, room function, and the downlight’s beam angle and lumen output. Always prioritize the layout over a simple ratio.

When I first started in the factory, we would get orders asking for a specific number of lights for a certain area. But the clients who were happiest were the ones we had a deeper conversation with. A "one-size-fits-all" answer like "one light per 2 square metres" is a dangerous oversimplification. It might work for a hallway, but it will fail in a kitchen or a high-end retail store. The real question isn’t about the area, but about what happens in that area.
Factors That Change the "Per Square Metre" Rule
Instead of a fixed ratio, I teach my team to ask questions based on these factors. This is how you, as a purchasing expert, can add more value and ensure the products you source are used effectively.
-
Ceiling Height: Light spreads out as it travels. A higher ceiling requires more powerful lights or a narrower beam angle to deliver the same brightness (lux) to the floor or work surface.
-
Room Function: The lighting needs for different rooms are vastly different. A bedroom needs a much lower light level than a workshop or a commercial kitchen. Applying the same density of lights everywhere is a common mistake.
-
Light Output & Beam Angle: The specifications of the downlight itself are critical. A downlight with a wide beam angle (e.g., 90°) can be spaced further apart for ambient light, while a narrow beam angle (e.g., 38°) is needed for focused task or accent lighting and must be placed closer together.
Here is a simple reference table I use for initial discussions. It’s a guide, not a rule.
| Room Type |
Recommended Lux Level |
Approximate Spacing (with 8W, 60° downlight, 2.7m ceiling) |
Key Consideration |
| Living Room |
150 – 300 lux |
1.8 – 2.5 metres apart |
Focus on creating mood with pools of light. |
| Kitchen |
300 – 500 lux |
1.2 – 1.5 metres apart |
Prioritize bright task lighting over work surfaces. |
| Bedroom |
100 – 200 lux |
2.0 – 2.8 metres apart |
Use fewer lights; focus on a relaxed atmosphere. |
| Office |
400 – 500 lux |
1.2 – 1.5 metres apart |
Ensure even, glare-free light on desk surfaces. |
This table shows that a single "per square metre" rule doesn’t work. By asking about the room’s function and ceiling height, you can guide your clients to a much better lighting plan.
How many LED downlights per circuit?
You are worried about overloading a circuit. It’s a critical safety and performance concern that can cause major problems if not handled correctly. I’ll clarify how to calculate this safely.
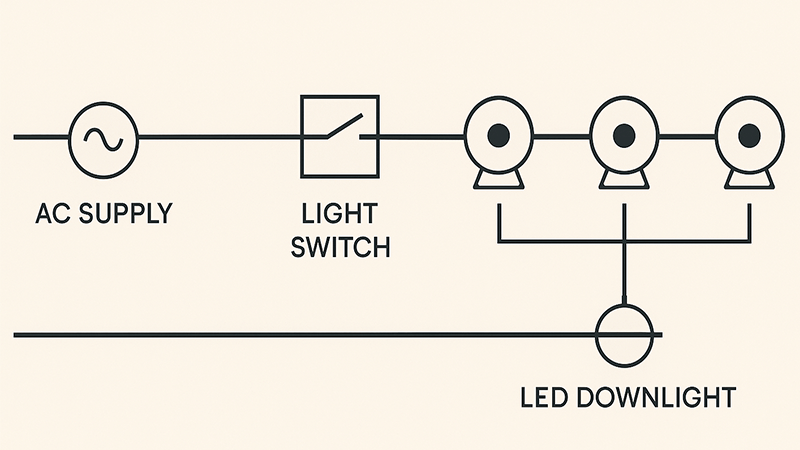
To determine the maximum number of LED downlights per circuit, divide the circuit’s total wattage capacity by the wattage of a single downlight. For safety, only load the circuit to 80% of its maximum capacity. Always check local electrical codes for specific regulations.

This is a question where the math is straightforward and extremely important. I’ve seen projects delayed because of electrical issues that could have been avoided with simple planning. In my manufacturing business, we always provide clear wattage information because we know how critical it is for project managers and electricians on-site. Overloading a circuit isn’t just inefficient; it’s a fire hazard.
A Safe Calculation Method
Let’s break down the calculation with a real-world example. The principle is the same everywhere, but you must adapt the numbers to your local standards.
-
Identify Circuit Capacity: A standard residential circuit is often rated for 15 amps. To find the total wattage, you multiply the amperage by the voltage. In the US, for example, that’s 15A * 120V = 1800W. In a 230V region, it would be 15A * 230V = 3450W.
-
Apply the 80% Safety Rule: You should never run a circuit at its absolute maximum for continuous loads like lighting. This safety margin prevents overheating and breaker trips.
- For an 1800W circuit:
1800W * 0.80 = 1440W of usable capacity.
- For a 3450W circuit:
3450W * 0.80 = 2760W of usable capacity.
-
Divide by Downlight Wattage: Look at the wattage of the specific LED downlight you are using. Let’s say you choose a common 9W LED downlight.
- On the 1440W circuit:
1440W / 9W per light = 160 lights.
- On the 2760W circuit:
2760W / 9W per light = 306 lights.
The numbers seem high, but this illustrates how energy-efficient LEDs are compared to old halogen bulbs. A 50W halogen would drastically reduce the number of lights per circuit.
| Circuit Capacity |
Safety Capacity (80%) |
Wattage per Light |
Max Lights (Halogen) |
Max Lights (LED) |
| 15A @ 120V (1800W) |
1440W |
50W (Halogen) |
28 |
– |
| 15A @ 120V (1800W) |
1440W |
9W (LED) |
– |
160 |
| 10A @ 230V (2300W) |
1840W |
50W (Halogen) |
36 |
– |
| 10A @ 230V (2300W) |
1840W |
9W (LED) |
– |
204 |
While you can put this many lights on a circuit, you often shouldn’t. For better control, it’s wise to split lights across multiple circuits. This allows you to control different "scenes" or layers of light independently.
How many LED lights for a 12×12 room?
You have a common room size and need a specific number. But simply filling the space with light isn’t the goal. I’ll show you how to light it effectively.
For a 12×12 foot room (about 13.4 square metres), you typically need between 4 and 9 LED downlights. Four lights create a general ambient feel, while nine lights allow for focused task lighting and more even coverage.

I remember helping a client who was lighting dozens of identical small rooms in a hotel. The initial plan was a single, powerful light in the center of each room. It was efficient but felt like a storage closet. We changed the plan to use four lower-wattage downlights instead. The cost was similar, but the feel of the room was completely transformed. It felt more spacious and welcoming. For a 12×12 room, your layout choice is more important than the exact number of lights.
Layout Options for a 12×12 Room
Let’s move beyond just the number and talk about the plan. A 12×12 foot room could be a bedroom, a home office, or a small den. Each requires a different approach. Here are two common, effective strategies.
The Four-Light Layout
This is a great starting point for general ambient lighting. It provides balanced, even light without being too intense.
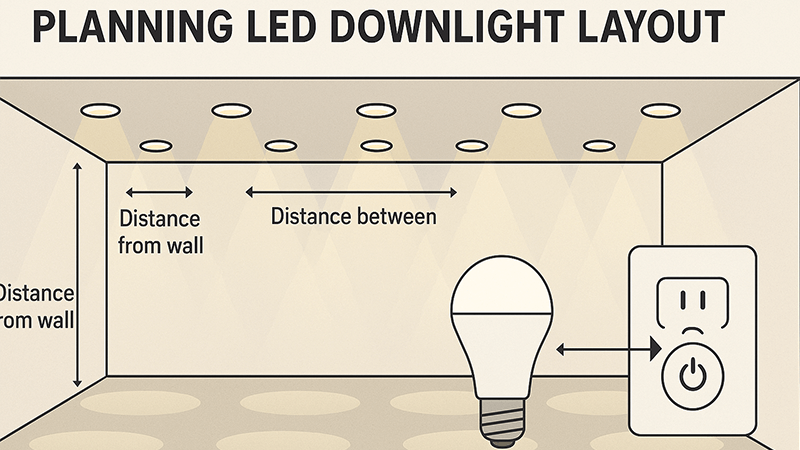
- Placement: Imagine dividing the room into four equal squares. Place one downlight in the center of each square. In a 12×12 room, this means the lights will be about 6 feet apart from each other and 3 feet from each wall.
- Best For: Bedrooms, hallways, and living areas where the primary need is for a comfortable, relaxed atmosphere.
- Pro Tip: I always recommend putting this layout on a dimmer switch. This gives the user complete control, from bright and functional to low and moody.
The Nine-Light Layout
This layout provides more comprehensive coverage and is better for task-oriented spaces.
- Placement: Imagine a 3×3 grid, like a tic-tac-toe board. Place one downlight in the center of each of the nine squares. In a 12×12 room, the lights will be 4 feet apart from each other and 2 feet from each wall.
- Best For: Home offices, kitchens, workshops, and bathrooms where bright, even, shadow-free light is essential for tasks.
- Pro Tip: For maximum flexibility, wire the lights in two groups. For example, the outer ring of eight lights on one switch and the single center light on another. This creates multiple lighting scenes within one room.
Here’s how the choice of layout impacts the room’s function:
| Layout |
Number of Lights |
Spacing from Wall |
Primary Use |
Atmosphere |
| Four-Light |
4 |
~3 ft (0.9m) |
Ambient Lighting |
Relaxed, Simple |
| Nine-Light |
9 |
~2 ft (0.6m) |
Task Lighting |
Bright, Functional |
By presenting these options, you’re not just answering "how many?" You’re helping your client make an informed design decision.
Conclusion
Ultimately, the right number of downlights comes from a thoughtful plan. Stop calculating quantity and start designing the scene to create functional, layered, and beautiful spaces for your clients.