Struggling to guess the right amount of lights for your project? Miscalculations lead to waste and delays. Use a simple formula to get it right every time.
To calculate the required light string length, multiply the trunk’s circumference by its height, then divide by the desired spacing between wraps. For a standard wrap, you will need approximately 10-15 feet of lights for every vertical foot of the trunk.
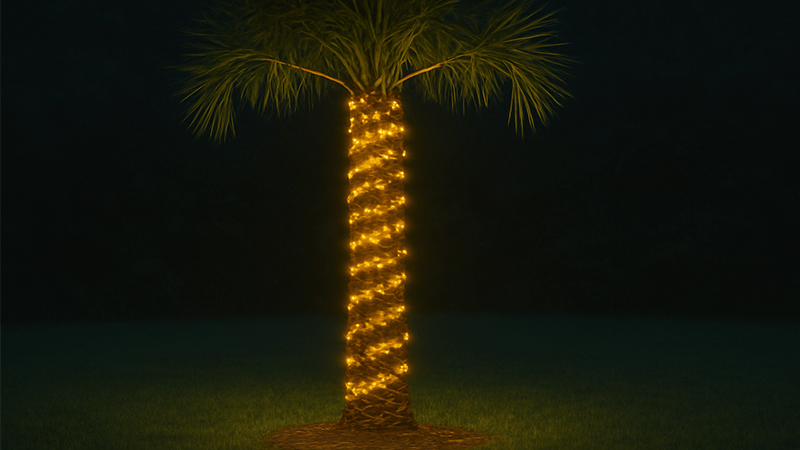
This simple calculation is a fantastic starting point for any project manager. It gives you a reliable base number to work with. But lighting a palm tree often involves more than just the trunk. You might need to consider the fronds, or maybe you are working with different types of trees entirely. The principles are similar, but the details matter.
Let’s explore these factors more deeply. I will share some insights I have learned over the years to help you plan your lighting projects with precision and confidence. This will ensure you never have to guess again.
How many lights to wrap a palm tree?
Decorating an entire palm tree can seem complex. Guessing the light quantity can cause uneven lighting and frustrating project delays. Let’s use a clear, step-by-step method.
For a complete palm tree, first calculate the trunk lights. Then, for the fronds, plan for 5-10 feet of lights per frond, depending on its size. Sum both totals and add a 15% contingency for a perfect result.
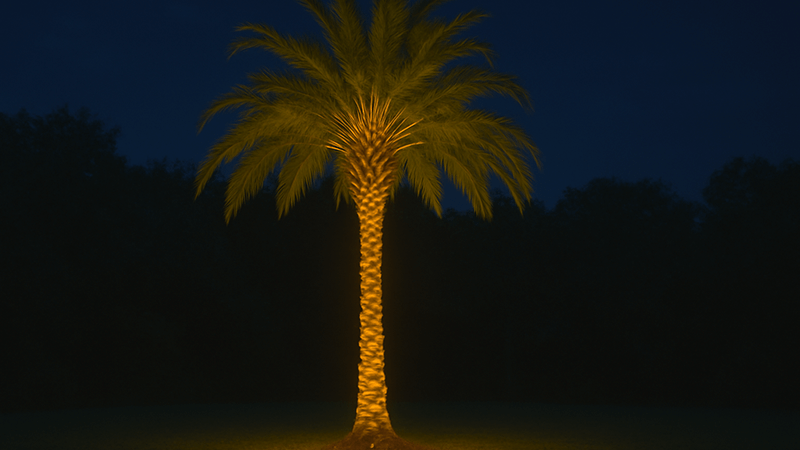
When I work with clients on large-scale projects, precision is everything. A purchasing manager like Shaz in the UAE needs numbers that are both accurate and account for real-world variables. Lighting a full palm tree requires breaking the task into two main parts: the trunk and the fronds. Each requires a different approach. Getting this right saves time, money, and ensures a stunning final look. The goal is to create a clear plan that can be easily replicated across dozens or even hundreds of trees, guaranteeing consistency and quality for the entire project.
Calculating Trunk Lights Accurately
The trunk is the foundation of your design. The formula I mentioned earlier is your best tool here: Light String Length = (Trunk Height / Wrap Spacing) * Trunk Circumference. Let’s look at what this means in practice. The "Wrap Spacing" is how far apart each spiral of the lights is. A smaller number, like 2 inches, creates a dense, bright look. A larger number, like 4 inches, is more subtle and uses fewer lights.
Here is a table to give you a clearer idea for a 10-foot tall trunk section:
| Trunk Diameter |
Trunk Circumference |
Spacing |
Lights Needed |
| 10 inches |
~31.4 inches |
2 inches |
~157 feet |
| 10 inches |
~31.4 inches |
4 inches |
~79 feet |
| 14 inches |
~44 inches |
2 inches |
~220 feet |
| 14 inches |
~44 inches |
4 inches |
~110 feet |
This shows how quickly the required length changes based on your design choice. For commercial projects, consistency is key, so choosing a standard spacing and sticking to it is crucial.
Estimating Lights for Palm Fronds
The fronds are what make a palm tree iconic, but they are also trickier to light. They vary in size and shape. A simple approach is to outline the underside of each frond with a single run of lights. This creates a beautiful silhouette against the night sky. As a rule of thumb, I recommend budgeting between 5 to 10 feet of lights per frond you intend to decorate. For a large project, you can standardize this. For example, decide that every large frond gets 10 feet of lights and every small one gets 5 feet. Count the fronds on an average tree, multiply by the light length, and you have your estimate.
The Professional’s Contingency Plan
This is the most important tip I can share. After you calculate the total length for the trunk and fronds, always add an extra 10-20% to your order. I learned this lesson the hard way early in my career. Projects rarely go exactly as planned. Measurements can be slightly off. You need extra length for running power leads from the base. Connectors between strings take up a few inches each. Sometimes, a section of lights might be faulty, or the client might request a small design change on-site. This contingency stock prevents costly delays and last-minute orders. It is a simple step that marks the difference between an amateur and a professional plan.
How many lights to wrap a tree trunk?
Struggling to light a standard tree trunk? The unique shape and bark can make estimates difficult. This often results in buying the wrong amount of lights.
Use a simple formula: multiply the trunk’s height by its circumference, then divide by your desired wrap spacing (e.g., 3 inches). This gives you a precise length. For example, a 10-foot trunk with a 3-foot circumference needs about 120 feet of lights for a 3-inch wrap.
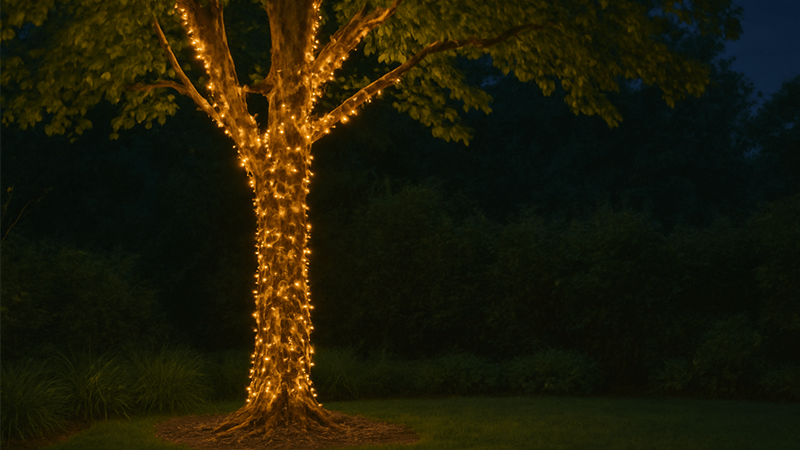
While the core principle is the same as for a palm tree, other trees present their own challenges. Oak, maple, or pine trees have rougher bark, thicker bases, and sometimes branches that start low on the trunk. These factors can affect your calculations and installation methods. Over the years, I have found that a systematic approach works best, regardless of the tree type. It is all about understanding the geometry and planning for the specific texture and shape you are working with. This ensures the lighting looks intentional and professional, not just randomly applied. Let’s dig into the details to make your next project a success.
Step 1: Accurate Measurements
The first step is always to get accurate measurements. Do not estimate. Use a flexible measuring tape for the most precise numbers.
- Trunk Height: Measure the vertical distance you want to cover with lights. You might not want to wrap the entire trunk, so decide on a start and end point. For a project with multiple trees, it is important to standardize this height for a uniform look.
- Trunk Circumference: Measure the distance around the trunk. If the trunk tapers significantly, I recommend taking two measurements—one at the base and one at the top of your wrapping area—and using the average. This simple extra step prevents you from coming up short on wider trees. For example, if the base is 3 feet around and the top is 2 feet around, use an average of 2.5 feet for your calculation.
Step 2: Applying the Formula with Spacing Options
The formula remains Light String Length = (Trunk Height / Wrap Spacing) * Trunk Circumference. Your choice of spacing is the key creative decision. It directly impacts the final look and the project budget.
| Spacing Style |
Description |
Impact on Light Quantity |
| Tight Wrap |
1-2 inches apart |
Creates a very bright, solid column of light. |
High quantity needed. |
| Standard Wrap |
3-4 inches apart |
The most common choice, provides a balanced look. |
Medium quantity needed. |
| Loose Wrap |
5-6 inches apart |
A more subtle, spiraling effect. |
Low quantity needed. |
For a purchasing manager like Shaz, understanding these options is critical for balancing aesthetic goals with budget constraints. A tight wrap looks spectacular but can double the cost compared to a standard wrap.
Step 3: Accounting for Bark Texture and Branches
Unlike the smooth trunk of a palm, many trees have deep, rough bark. This texture can "swallow" light and may require you to use slightly more length than your calculation suggests, as the string will not lie perfectly flat. I usually add about 5% extra for trees with very rough bark, like old oaks. Furthermore, if there are low-hanging branches within your wrapping area, you have to decide whether to wrap around them or navigate over them. Each branch you decide to wrap will require its own separate calculation and will add to your total light string length. Planning for these details in advance prevents surprises during installation.
How to wrap lights around a palm tree?
Wrapping a palm tree can be tricky. Starting from the top can be unstable, and a random wrap looks messy. This leads to an unprofessional and frustrating installation process.
Always start at the bottom of the trunk and wrap upwards in a consistent spiral. Secure the beginning of the string with zip ties. For fronds, trace the underside from the stem outwards and back, securing lights as you go.
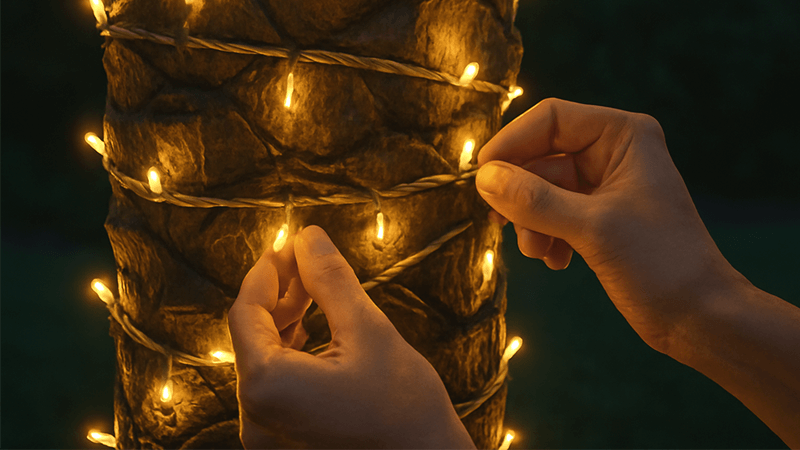
Having a clear installation strategy is just as important as calculating the right number of lights. A good plan ensures the final result is clean, professional, and secure enough to withstand weather. Over my career, I’ve seen many installations fail not because of product quality, but because of poor technique. The method I am about to share is simple, efficient, and safe. It is the same process we use for large commercial projects where speed and consistency are essential. Following these steps will help you achieve a flawless look every time.
Trunk Wrapping Technique
- Start at the Base: Always begin at the bottom of the trunk. This is safer and makes managing the string of lights much easier. Plug the lights in to ensure they are working before you begin wrapping.
- Secure the Start: Use a UV-resistant zip tie or a landscape staple to securely fasten the beginning of the light string to the base of the trunk. Make sure it is anchored well.
- Wrap Upwards: Begin wrapping the lights around the trunk, moving upwards. Keep the spacing between each spiral consistent. This is the most critical part for a professional look. Use your hand as a guide—for example, a four-finger width can be your standard for 3-inch spacing.
- Maintain Tension: Keep the string taut, but not so tight that it damages the tree or the wire. The lights should sit snugly against the bark.
- Secure the End: Once you reach your desired height, secure the end of the string with another zip tie. If you need to add another string, make the connection here and secure it with electrical tape for weatherproofing before continuing your wrap.
Lighting the Fronds
Lighting the fronds requires a bit more care. You are often working at height and with more delicate parts of the tree.
- Choose Your Fronds: You do not need to light every frond. Select the healthiest and most visible ones to create a balanced look.
- Trace the Underside: Starting from where the frond meets the trunk, run the light string along the underside of the central stem. Go all the way to the tip.
- Return Trip: Once at the tip, simply loop the string and run it back down to the trunk along the same path. This creates a double line of light for better visibility.
- Secure with Clips: Use small, clear plastic clips or ties to attach the lights to the frond stem every 12-18 inches. This will keep them in place during wind or rain. Do not wrap the string tightly around the frond, as this can damage it.
This methodical approach ensures a clean, durable, and visually stunning result for any palm tree lighting project.
How to wrap lights around the trunk of a tree?
Wrapping a regular tree trunk seems simple. But without a good technique, the lights can slip, look uneven, or create a tangled mess. This wastes time and looks unprofessional.
Start at the bottom and wrap upwards. Secure the start and end of each string with UV-resistant zip ties. Maintain consistent spacing and tension for a clean spiral. If you encounter a branch, wrap around it before continuing up the main trunk.
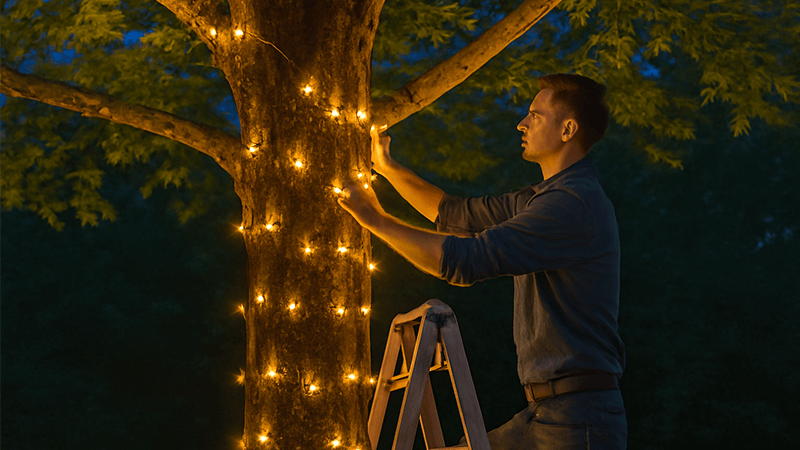
The technique for wrapping a standard tree trunk is fundamental to landscape lighting. While the concept is straightforward, executing it perfectly, especially on large or irregularly shaped trees, requires attention to detail. I have trained many teams on this process, and I always emphasize three things: safety, security, and consistency. A well-wrapped tree should look just as neat in the daylight as it does when illuminated at night. This process ensures the installation is not only beautiful but also durable enough to last through the seasons, protecting the investment made by clients.
Preparation and Safety First
Before you begin, safety is the priority. If the wrapping height is above what you can comfortably reach, use a stable A-frame ladder, not a leaning ladder. Ensure the ground is level and firm. Always test your light strings on the ground before you start wrapping to make sure every bulb is working. It is much easier to fix a problem on the ground than halfway up a tree. Also, plan your power source. Run an outdoor-rated extension cord to the base of the tree and make sure all connections are weatherproof and elevated slightly off the ground to avoid sitting in water.
The Wrapping Process Step-by-Step
- Anchor at the Base: Just like with a palm tree, start at the bottom. Secure the male end of your first light string firmly to the base using a zip tie or a garden staple. Position the anchor point at the back of the tree so it is less visible.
- Create Your Spiral: Begin wrapping upwards, keeping your desired spacing consistent. A common mistake is for the spacing to get wider as you go higher. To avoid this, pause every few feet, step back, and check your work to ensure the spiral is even.
- Managing Additional Strings: When you reach the end of one string, connect the next one. Wrap the connection point securely with waterproof electrical tape. This prevents moisture from getting in and causing a short. Secure this connection point to the tree with a zip tie so the weight of the string below is not pulling on the plug.
- Handling Obstacles: When you come to a branch, you have two choices. You can go over it and continue up the trunk, or you can wrap out along the branch and then back to the trunk. For a high-end look, wrapping the first few feet of major branches adds incredible depth. To do this, wrap out along the top of the branch, then wrap back along the underside before continuing your upward spiral on the main trunk.
Final Touches and Security
Once you have reached your target height, secure the final end of the string tightly with a zip tie. Tuck any excess wire or the end of the plug so it is hidden from view. Step back and look at the tree from all primary viewing angles to ensure it looks balanced and complete. Making these small adjustments at the end is what elevates a good installation to a great one.
Conclusion
Calculating and wrapping tree lights is simple with the right formula and technique. Plan carefully, add extra length, and always work methodically for professional, stunning results every time.